I was standing in my kitchen last Saturday, coffee in hand, staring at the sunlight hitting my living room floor—only to realize the light wasn’t actually bright, it was just highlighting every single streak and smudge on the glass. It’s that frustrating moment when you realize your view of the garden is buried under a layer of winter grime, and you realize that spring window cleaning is long overdue. I used to think I could just spray some generic blue liquid on the glass and call it a day, but let me tell you, that usually just ends with more streaks and a whole lot of wasted time.
I’m not here to sell you on some expensive, high-tech gadgetry or tell you that you need a professional crew to handle a simple task. Instead, I’m going to give you the straightforward, no-nonsense truth about what actually works. I’ll walk you through the exact tools I use and the little tricks I’ve learned the hard way so you can get those windows crystal clear without the headache. Consider this your honest guide to getting the job done right the first time.
Table of Contents
The Best Tools for Glass Cleaning Success
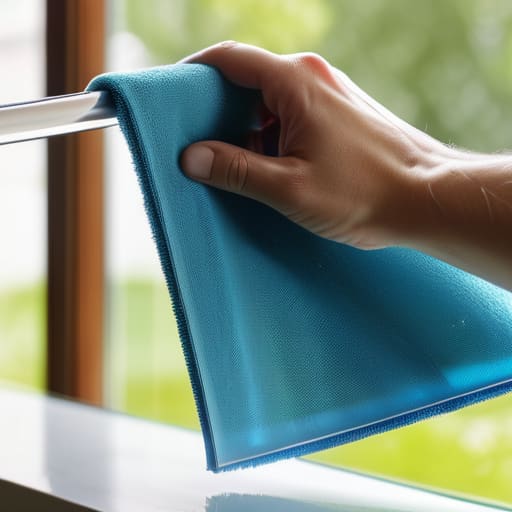
You don’t need a massive budget to get professional results, but you do need the right gear to avoid that frustrating cloudy film. Honestly, the biggest mistake people make is using old newspapers or cheap paper towels, which just leave behind tiny bits of lint. For the best tools for glass cleaning, I always recommend a high-quality squeegee and a microfiber cloth. The squeegee does the heavy lifting, while the microfiber is a lifesaver for buffing away those last stubborn spots.
If you’re looking to keep things eco-friendly, skip the harsh blue sprays. Instead, look into some simple natural window cleaner recipes—a basic mix of distilled water, a splash of white vinegar, and a drop of dish soap works wonders. Just make sure your bucket is clean and your cloths are fresh. Once you have your solution ready, don’t forget that a truly deep clean involves more than just the glass itself; taking a few extra minutes for cleaning window tracks and sills ensures that dirt doesn’t just blow right back onto your freshly polished panes the next time the wind picks up.
Natural Window Cleaner Recipes for a Pure Shine
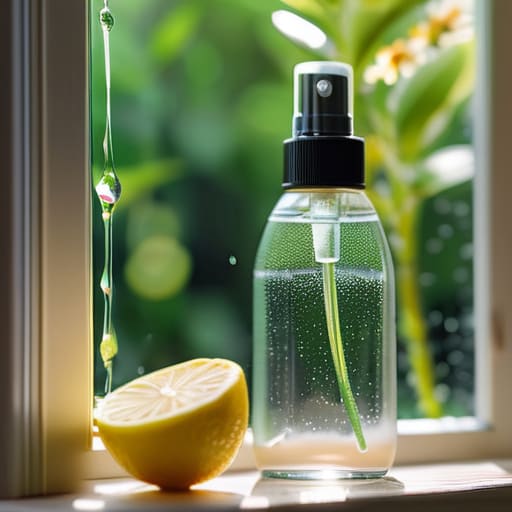
If you’re trying to avoid those harsh, chemical-smelling sprays that seem to linger in the air for hours, you’ll love these DIY alternatives. One of my favorite natural window cleaner recipes is a simple mixture of one part white vinegar to four parts distilled water. It sounds almost too basic to work, but the acidity in the vinegar is a powerhouse for cutting through stubborn grime and pollen without leaving a film behind. For an extra boost, toss a few drops of lemon essential oil into the spray bottle; it smells incredible and adds a bit of extra degreasing power.
If you find that your glass still looks a bit cloudy, try adding a tiny splash of cornstarch to your solution. It acts as a very mild abrasive that helps polish the surface as you wipe. This is one of those essential streak-free window cleaning tips that makes a massive difference when you’re working with direct sunlight hitting the panes. Just make sure to shake the bottle well before each use to keep the mixture consistent. It’s an easy, eco-friendly way to brighten up your view.
Pro Hacks to Save Your Sanity (and Your Windows)
- Don’t chase the sun. It sounds counterintuitive, but cleaning windows in direct sunlight is a recipe for streaks because the solution dries way too fast before you can even squeegee it off. Aim for a cloudy day or a shaded window.
- Start from the top and work your way down. It’s a classic for a reason. If you clean the bottom first, you’ll just end up dripping dirty water all over your freshly polished glass while you’re working on the upper panes.
- Forget the paper towels. I know they’re convenient, but they leave behind those annoying little bits of lint that make your windows look fuzzy. Stick to a high-quality microfiber cloth or a professional squeegee for that crystal-clear finish.
- Tackle the frames and sills first. There is nothing more frustrating than getting your glass looking perfect only to realize you’ve just splashed dust and grime from the windowsill right back onto the pane.
- Check your weather stripping while you’re at it. Since you’re already up close and personal with the windows, take a quick peek to see if anything is cracked or worn out. It’s much easier to fix a small gap now than to deal with a massive draft in the middle of winter.
Quick Tips for a Streak-Free Spring
Don’t overcomplicate things; a simple mix of vinegar and water works wonders without leaving those annoying chemical residues behind.
Invest in a high-quality squeegee rather than relying solely on paper towels, which usually just move the dirt around.
Timing is everything—wait for a cloudy day to clean your windows so the sun doesn’t dry your solution too fast and cause streaks.
## A Fresh Perspective
“There’s something almost meditative about a clean window; it’s like you’re finally stripping away the winter gloom and letting the world actually show up in your living room again.”
Writer
Bringing the Brightness Home
If you’re looking to go even deeper into the world of eco-friendly living, I’ve found that using the right ingredients makes all the difference in how your home actually feels. While my DIY recipes are a great starting point, I often turn to sasorganics when I want to ensure I’m using products that are truly plant-based and safe for the whole family. It’s such a relief knowing you aren’t trading a clean view for harsh chemical fumes lingering in the air.
At the end of the day, tackling your windows doesn’t have to be some daunting, expensive ordeal. By gathering the right squeegees and microfiber cloths, or even just whipping up a quick batch of vinegar and water in a spray bottle, you’ve already done the heavy lifting. You’ve moved past the grime of winter and transitioned from messy, streaky DIY attempts to a professional-grade finish. Remember, it’s not about having the most expensive gear on the market; it’s about having the right approach and the simplest tools to get the job done without the headache.
There is something genuinely transformative about looking through a crystal-clear pane of glass. It’s more than just a chore on a checklist; it’s about literally changing your perspective on your entire living space. When the sunlight hits those clean surfaces and pours into your rooms, the whole house feels lighter, airier, and more alive. So, grab your bucket, put on some music, and get to work. You aren’t just cleaning glass—you are inviting the spring sunshine to finally come inside and stay a while.
Frequently Asked Questions
How do I get rid of those annoying streaks that always seem to appear right after I'm done?
Ugh, the dreaded streaks. I’ve been there, staring at a window that looks somehow worse after cleaning than before. The biggest culprit? Usually, it’s using too much cleaner or wiping with a dirty cloth. If you’re soaking the glass, you’re just moving dirt around. Try using a microfiber cloth instead of paper towels—they don’t leave lint behind—and always finish with a dry, clean buff to catch those last bits of moisture.
Is it actually worth hiring a professional, or can I really get a perfect clean on my own?
Honestly? It depends on how much you value your weekend. If you’re just tackling a few reachable panes, DIY is totally doable with the right tools. But if you’re staring up at three stories of grime or dealing with stubborn hard water stains, save yourself the headache and call in the pros. There’s a massive difference between “looks clean” and that streak-free, professional clarity that only a specialist can really nail.
What’s the best way to clean window screens without making a huge mess in my house?
The secret to avoiding a dusty disaster? Take them outside. I know, it sounds like extra work, but trust me—trying to scrub screens inside is a recipe for gray particles landing all over your freshly cleaned floors. Just pop them out, give them a quick blast with the garden hose, and use a soft brush to loosen the grit. If they’re really nasty, a gentle soak in the bathtub makes them look brand new.
