I was mid-way through vacuuming my living room last Tuesday when I caught a glimpse of it—that thick, grey, fuzzy line of grime hugging the floor. It’s funny how you can spend hours scrubbing countertops and polishing mirrors, yet somehow completely overlook the literal dust magnet running along the bottom of every single wall. Most people think cleaning baseboards requires some specialized, high-end chemical kit or an expensive steam cleaner to get the job done, but honestly? That’s just a way to waste your money.
I’m not here to sell you on a twenty-step ritual or a collection of overpriced gadgets that you’ll just end up shoving in a junk drawer. Instead, I’m going to give you the straightforward truth about how to tackle this chore without losing your mind (or your entire Saturday). I’ve spent years testing different methods—from the old-school rag approach to the clever hacks that actually work—and I’m sharing the only techniques that are worth your time. Let’s get into it.
Table of Contents
Finding the Best Cleaning Solutions for Wood Baseboards
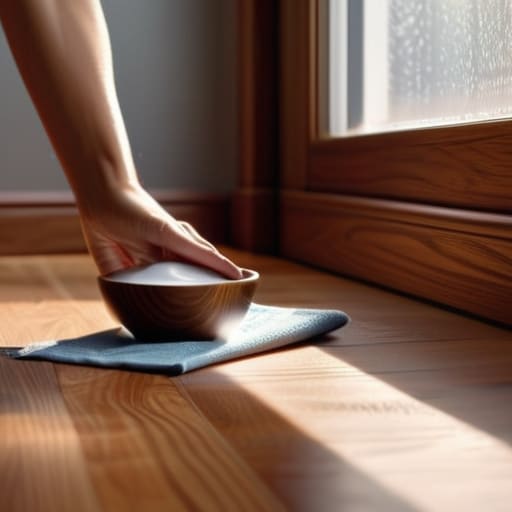
When you’re dealing with real wood, you can’t just go grabbing whatever harsh chemical spray is sitting under your sink. If you want to avoid stripping the finish or leaving a cloudy residue, you need to be selective about the best cleaning solutions for wood baseboards. For a standard weekly refresh, a simple mixture of warm water and a few drops of mild dish soap works wonders. If the wood has a particularly heavy buildup of grime, a specialized wood soap can help lift that dirt without soaking into the grain.
If you’re staring at those stubborn black streaks left by vacuum cleaners or pets, don’t panic. Removing scuff marks from trim usually requires a bit more finesse than just a wet rag. I’ve found that a soft eraser or a tiny amount of non-gel toothpaste on a damp cloth can lift those marks without scratching the surface. Just remember to always test a small, inconspicuous spot first—it’s much better to spend five minutes testing than five hours trying to fix a ruined finish.
Cleaning Painted Baseboards Without Damage
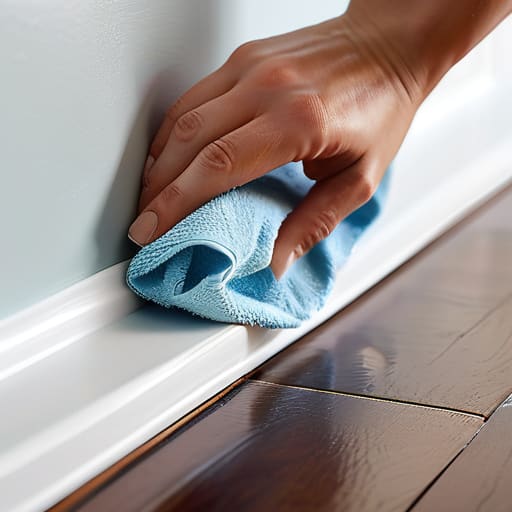
If you’ve got painted trim, you have to be a little more careful than you would with raw wood. Since paint can chip or peel if you get too aggressive, skip the heavy-duty scrubbing. Instead, start with some simple microfiber cloth dust removal to get the loose grit off first. If you jump straight in with a wet rag, you’ll just end up pushing a layer of muddy sludge into the crevices.
Once the dust is gone, grab a bucket of warm water with just a tiny drop of mild dish soap. Dip your cloth, wring it out until it’s barely damp, and wipe in the direction of the trim. If you’re dealing with those annoying black streaks from vacuum cleaners or kids’ shoes, don’t reach for steel wool. You’ll actually find that removing scuff marks from trim is much easier with a soft melamine sponge—just use a light touch so you don’t accidentally buff the paint right off the wood. It’s all about patience here; a gentle touch keeps the finish looking fresh rather than scuffed and dull.
Pro Moves to Save You Time (and a Headache)
- Don’t go in wet right away. Grab a vacuum with a brush attachment or even a dry microfiber cloth to suck up the loose dust first; otherwise, you’re just turning that dust into a muddy sludge that’s way harder to wipe off.
- Work your way from the top down. It sounds obvious, but if you clean the baseboards first and then dust your shelves or ceiling fans, you’re just going to end up with a fresh layer of grit on your clean trim.
- Keep a small detailing brush or an old toothbrush handy. For those annoying little crevices or ornate molding where the wood meets the wall, a cloth just won’t reach the grime hiding in the corners.
- Test your solution on a tiny, hidden spot first. Even if you think your cleaner is “gentle,” you don’t want to find out halfway through the living room that it’s going to dull the finish or lift the paint.
- Use a “two-bucket” approach if things get heavy. Keep one bucket with your cleaning solution and another with plain water for rinsing your cloth. This keeps you from just spreading dirty, gray water all over your trim.
The Quick Cheat Sheet
Match your cleaner to the finish—use gentle, pH-neutral solutions for wood to avoid stripping the stain, and stick to mild soap for painted surfaces to prevent peeling.
Don’t go in soaking wet; use a damp (not dripping) cloth to clean, then follow up with a dry microfiber to ensure no moisture sits in the cracks or wood grain.
Tackle the dust first with a vacuum or dry brush before you even touch a liquid, otherwise you’re just turning that grime into a muddy mess.
The Real Secret to a Clean Room
“You can vacuum the floors and polish the countertops until they shine, but if your baseboards are caked in dust, the whole room is going to feel ‘off.’ It’s the one detail that separates a house that looks lived-in from a house that actually looks clean.”
Writer
The Finish Line
If you find yourself staring at a mountain of dust and feeling completely overwhelmed, don’t try to tackle the whole house in one go. I’ve found that the best way to stay sane is to break things down into manageable chunks, and honestly, checking out some of the organization hacks over at hearthnhub can really help you keep the chaos at bay while you work. Once you have a little system in place, even the most tedious tasks—like scrubbing those stubborn corners—feel a lot more achievable and less like a total nightmare.
At the end of the day, cleaning your baseboards isn’t about achieving some impossible level of perfection; it’s about not letting the dust take over. Whether you’re treating delicate wood with specialized oils or gently wiping down painted surfaces with a mild soap solution, the goal is to protect the material while getting rid of that stubborn grime. Remember to always test a small, hidden spot first, and don’t be afraid to tackle one room at a time so you don’t end up feeling overwhelmed by the sheer amount of floor-level detail.
Once you see that crisp, clean line where the wall meets the floor, you’ll realize that this isn’t just another chore on an endless to-do list. It’s one of those small, satisfying wins that makes your entire home feel genuinely refreshed. There is something incredibly grounding about seeing the immediate impact of a little bit of elbow grease. So, grab your cloth, put on a good podcast, and get those baseboards shining—your floors (and your sanity) will thank you for it.
Frequently Asked Questions
How often do I actually need to do this to keep them looking decent?
Honestly, it depends on how much life happens in your house. If you’ve got toddlers or shedding pets, you’ll probably want to give them a quick wipe-down once a month to keep the dust from settling into a crusty layer. But if you’re in a low-traffic area, once a quarter is plenty. Just don’t let it go six months—once that grime builds up, it becomes a much bigger headache to scrub off.
Can I use a vacuum attachment, or will that just scratch the finish?
You absolutely can use a vacuum, and honestly, it’s the best way to start. Just don’t go in with a heavy, hard-plastic brush attachment—that’s a recipe for scratches. Instead, grab the soft brush tool or even just the crevice tool if you’re dealing with tight corners. It’s much safer to suck up the loose dust and hair first so you aren’t just rubbing grit into the finish when you start wiping.
What’s the best way to get rid of those stubborn scuff marks from shoes and furniture?
For those annoying scuff marks, skip the heavy scrubbing—you’ll just end up stripping the finish. If it’s a light mark, a simple magic eraser (damp, not soaking) usually does the trick. If that feels too abrasive, grab a soft cloth with a tiny bit of non-gel toothpaste. The mild grit helps lift the rubber without gouging the wood. Just work in small, gentle circles and wipe it clean immediately.
