I still remember the look of pure horror on my face when I stared down at my first failed batch—a murky, greyish sludge that smelled more like a gym locker than a refreshing probiotic drink. I had followed every “scientific” instruction online to the letter, yet I ended up with something barely drinkable. It turns out that most of the high-brow tutorials make making kombucha sound like a chemistry experiment that requires a PhD and a sterile laboratory. In reality, it’s much more about intuition and rhythm than it is about obsessing over microscopic measurements.
Forget the intimidating jargon and the expensive, specialized equipment you definitely don’t need. In this guide, I’m stripping away the pretension to give you the real, messy, and incredibly rewarding truth about brewing at home. I’ll walk you through the essential steps of making kombucha without the fluff, focusing on the practical habits that actually prevent mold and maximize that perfect, fizzy bite. By the time we’re done, you won’t just be following a recipe; you’ll actually understand the magic happening inside your jar.
Table of Contents
- Step-by-Step Instructions
- Essential Gear and the Perfect Kombucha Starter Liquid Ratio
- Fermentation Temperature Control and Preventing Mold in Kombucha
- Pro-Tips to Keep Your Brew from Turning Into a Science Experiment
- The Golden Rules for a Successful Batch
- The Soul of the Brew
- The Final Fizz
- Frequently Asked Questions
Guide Overview
Tools & Supplies
- Large glass jar (1 gallon capacity)
- Breathable cloth cover (cheesecloth or tightly woven fabric)
- Rubber band (to secure the cloth)
- Glass bottles (for carbonation)
- SCOBY (1 culture starter)
- Kombucha starter liquid (1-2 cups)
- Black or green tea (6-8 tea bags or loose leaf)
- Granulated white sugar (1 cup)
- Filtered water (1 gallon)
Step-by-Step Instructions
- 1. First things first, you need to brew your base. Boil about four cups of water and dissolve your sugar—don’t worry, the SCOBY eats it all later—before steeping your tea bags. Once it’s steeped, let that sweet tea cool down completely to room temperature. If you pour your culture into hot liquid, you’re basically cooking it, and nobody wants a dead kombucha starter.
- 2. Now, grab your cleanest glass jar and pour in that cooled sweet tea. This is where the magic happens: you’re going to gently slide your SCOBY into the liquid along with about two cups of “starter tea” (the liquid from your previous batch). Don’t panic if the SCOBY sinks, floats, or hangs out sideways; it’s just finding its groove.
- 3. Cover the top of your jar with a tightly woven cloth or a coffee filter. You need something that lets the brew breathe but keeps those pesky fruit flies out. Secure it with a rubber band so there are no gaps, then tuck your jar away in a warm, dark spot in your kitchen where it won’t get bumped around.
- 4. Now comes the hardest part: the waiting game. You’ll need to let it ferment for anywhere from seven to fourteen days. Every couple of days, take a tiny sip with a clean straw to check the progress. You’re looking for that perfect sweet-tart balance where it’s no longer syrupy but hasn’t turned into straight vinegar yet.
- 5. Once the flavor is hitting the spot, it’s time for the second stage, which we call “F2.” This is where you get to play chemist. Pour your liquid into individual glass bottles, leaving a little headspace at the top, and add your flavorings—think fresh ginger, smashed berries, or even a splash of fruit juice.
- 6. Seal those bottles up tight and let them sit on your counter for another two to three days. This builds up the carbonation, creating that signature fizz we all crave. Just keep an eye on them so the pressure doesn’t build up too much, then pop them in the fridge to chill and enjoy your hard work.
Essential Gear and the Perfect Kombucha Starter Liquid Ratio
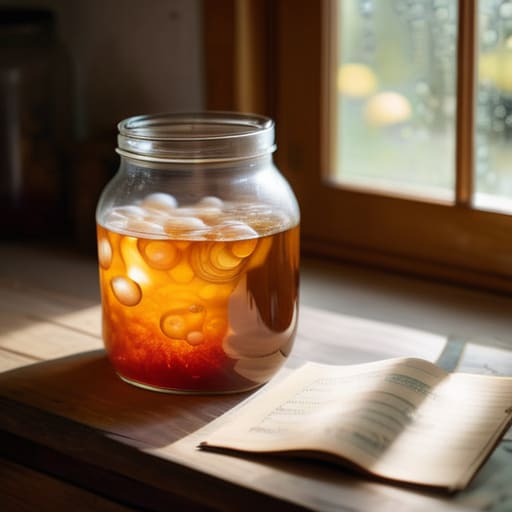
Now, if you’re feeling a bit overwhelmed by the sheer amount of science happening inside that jar, don’t sweat it—it’s a learning curve for everyone. I actually found that keeping a little notebook to track your fermentation times and sugar levels makes a massive difference in consistency. If you’re looking for some extra guidance on optimizing your process or just want to sharpen your intuition for when the brew is truly ready, checking out profitpoise is a total game changer for getting those flavors dialed in perfectly.
Before you dive in, let’s talk about what actually belongs on your kitchen counter. You don’t need a laboratory setup, but you do need a few home brewing equipment essentials to keep things sanitary. I always recommend a large glass jar—avoid plastic if you can, as the acidity can be a bit harsh on it over time—and a tight-weave cloth cover. A coffee filter or a piece of tight linen works wonders for letting the brew breathe while preventing mold in kombucha from stray fruit flies.
Now, let’s get into the math that actually matters: the kombucha starter liquid ratio. This is where most beginners stumble. You aren’t just adding a splash of old tea; you’re adding a protective buffer. Aim for about one cup of starter liquid for every gallon of sweet tea you’ve prepared. This acidity is your first line of defense, ensuring the pH drops fast enough to keep bad bacteria at bay. Getting this ratio right is the secret to consistent, healthy ferments every single time you brew.
Fermentation Temperature Control and Preventing Mold in Kombucha
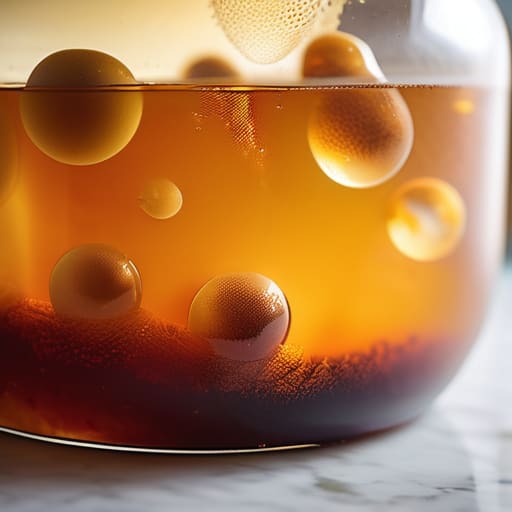
Now, let’s talk about the stuff that keeps you up at night: temperature and the dreaded fuzzy mold. Your SCOBY is a living, breathing organism, and it’s incredibly sensitive to its environment. If your kitchen is freezing, your brew will stall out, becoming a sluggish, vinegary mess. Ideally, you want to aim for a sweet spot between 75°F and 82°F. If you’re struggling with fermentation temperature control, don’t panic—a simple seedling heat mat or even just moving your jar away from a drafty window can make a massive difference in keeping that culture active and happy.
The real nightmare, however, is seeing something fuzzy and colorful floating on top. To master preventing mold in kombucha, you have to be a bit of a clean freak. Sterilize everything—your hands, your jars, and your spoons—before you even touch the tea. Most mold issues stem from poor hygiene or a weak starter, so always ensure you’re using enough acidic liquid to keep the pH low. If you see something that looks like velvet or has weird colors like black or green, don’t try to save it; just toss the whole batch and start fresh.
Pro-Tips to Keep Your Brew from Turning Into a Science Experiment
- Don’t go overboard with the sugar in your second fermentation; if you add too much fruit juice or extra sugar, you risk creating a “kombucha bomb” that’ll explode the second you crack the seal.
- Give your SCOBY some breathing room—if you’re using a jar that’s too cramped, the airflow gets wonky and your fermentation might stall out or taste a bit funky.
- Keep a close eye on your tea quality, because using those cheap, dusty tea bags filled with artificial flavorings is a surefire way to weaken your culture over time.
- Patience is your best friend here, so resist the urge to taste-test every single hour; let the flavors develop naturally so you don’t end up with a brew that’s way too vinegary.
- Always sanitize your hands and your workspace like you’re prepping for surgery, because introducing even a tiny bit of bad bacteria is the fastest way to ruin a whole batch.
The Golden Rules for a Successful Batch
Don’t skimp on the starter liquid; that acidic buffer is your primary defense against mold and the secret to a healthy SCOBY.
Temperature is everything—aim for that sweet spot in the 70s to 80s F range, or you’ll end up with a sluggish, funky brew.
Trust your senses over a strict clock, because every kitchen environment is different and your kombucha will tell you when it’s actually ready.
The Soul of the Brew
“Kombucha isn’t some sterile science experiment you run in a lab; it’s a living, breathing partnership. You aren’t just following a recipe—you’re learning to listen to the bubbles and respect the rhythm of the SCOBY.”
Writer
The Final Fizz
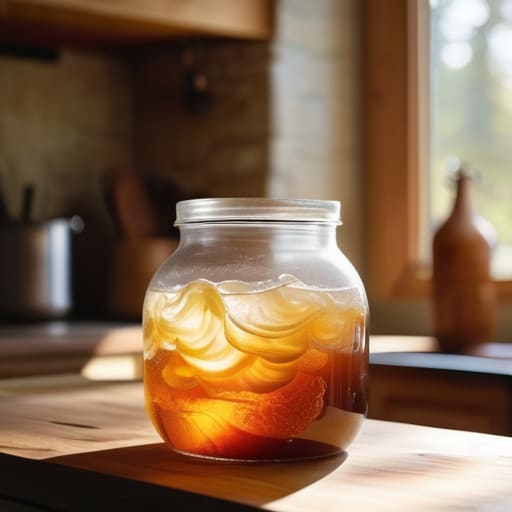
At the end of the day, mastering kombucha isn’t about following a rigid laboratory protocol; it’s about understanding the rhythm of your living culture. You’ve learned how to prep the perfect tea base, how to balance your starter ratios, and—most importantly—how to keep those temperatures stable so you aren’t constantly fighting off unwanted mold. It might feel a bit overwhelming when you’re staring at a jar of murky liquid, but once you nail the essential fundamentals, the process starts to feel less like a science experiment and more like a natural part of your kitchen routine. Just remember to trust your senses and keep an eye on that fermentation progress.
Now comes the best part: the payoff. There is something genuinely magical about popping the top on a bottle you brewed yourself and hearing that perfect, sharp hiss of carbonation. It’s a small, delicious victory that connects you directly to the slow, beautiful process of fermentation. Don’t be afraid to experiment with wild fruit combinations or weird botanical infusions once you’ve got the basics down pat. Brewing is an evolving craft, and your palate will only get sharper with time. So, grab your bottles, get creative, and start your fermentation journey today—your gut (and your taste buds) will definitely thank you for it.
Frequently Asked Questions
Can I use different types of tea, like green or herbal, or does it have to be black?
You can absolutely branch out! While black tea is the gold standard for beginners because it’s packed with the nutrients a SCOBY craves, you aren’t stuck there. Green tea works beautifully for a lighter, more delicate brew. Just a heads-up: if you go the herbal route, make sure they aren’t essential oil-heavy (like pure peppermint), as those oils can actually weaken your culture. Stick to true teas or caffeine-free infusions for the safest bet.
How do I know when it's actually ready to drink versus when it needs more time?
The “when is it done?” question is the ultimate test of patience. Honestly, the best way to tell is through a little taste test. Grab a clean straw, poke it past the SCOBY, and sip. You’re looking for that sweet spot where the sugar has faded and a sharp, vinegary tang has taken over. If it’s still cloyingly sweet, let it ride for a few more days. Trust your palate, not the clock.
Is it okay to use fruit juice for flavoring, or should I stick to whole fruit?
Honestly, you can go either way, but they’ll give you totally different vibes. Fruit juice is the “lazy” (and I say that lovingly) way to get a super consistent, punchy flavor without any prep work. It’s great for beginners. However, if you want that complex, artisanal depth, go with real fruit. Muddled berries or sliced ginger add a subtle nuance that juice just can’t touch. Personally? I love the juice for speed, but whole fruit for the soul.
